Interactive walkthroughs from the real app. Screen-recorded videos are coming soon – until then these steps show the main workflows.
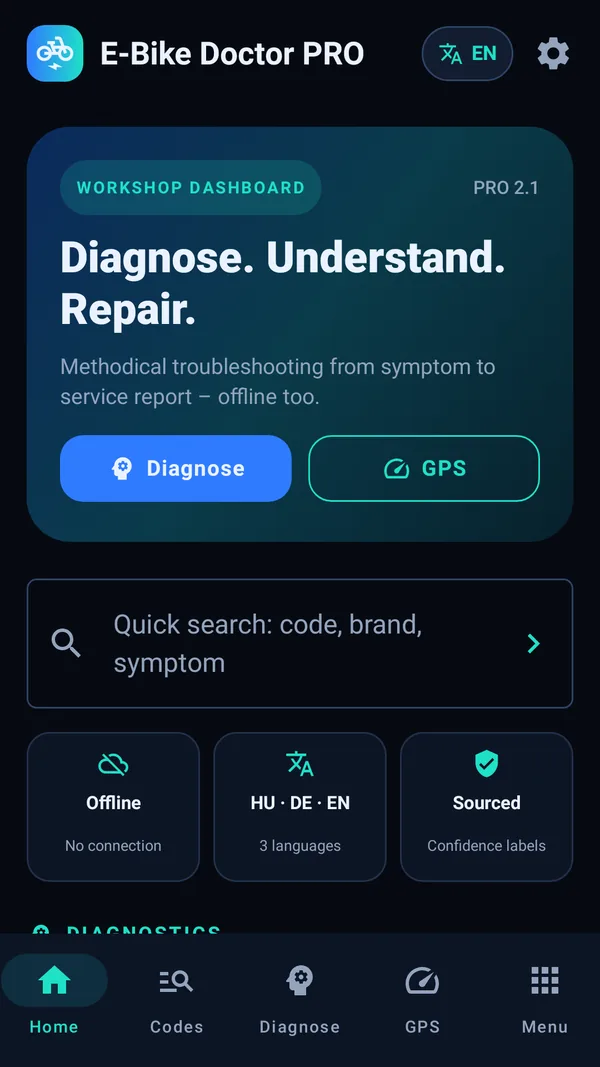
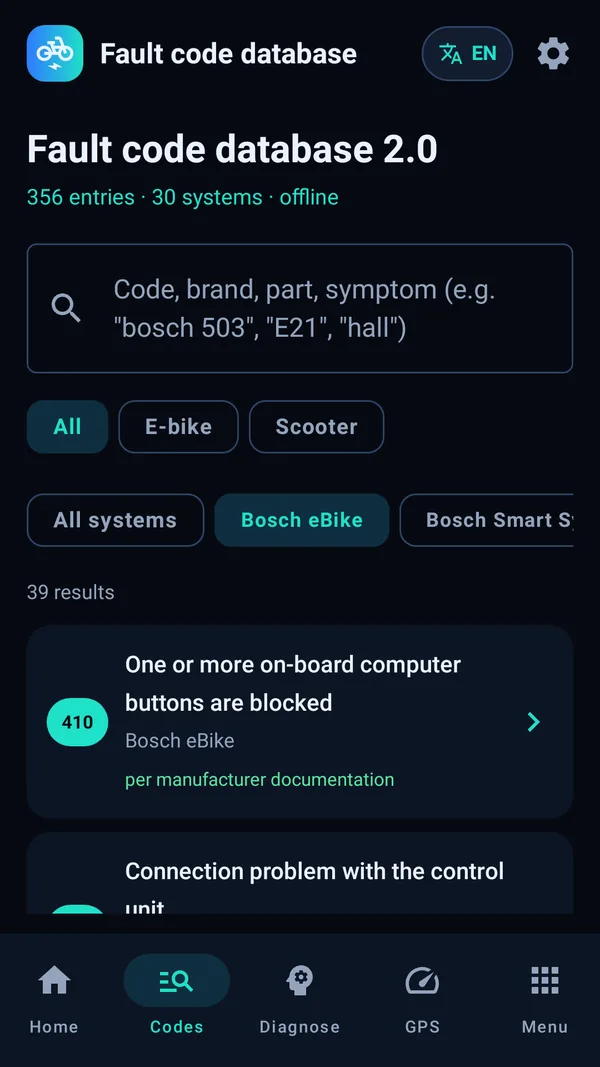
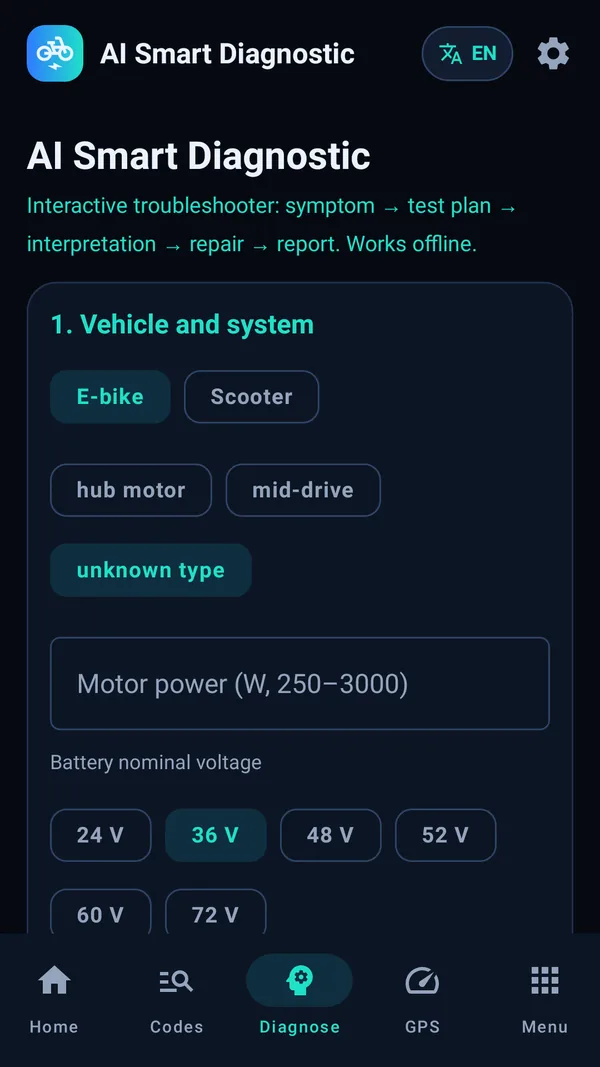
A code on the display – Android
Step 1/3 Home: quick search by code, brand or symptom.Step 2/3 Fault code database: brand filter, meaning, reliability label.Step 3/3 Smart Diagnostic: choose vehicle and system, test plan.
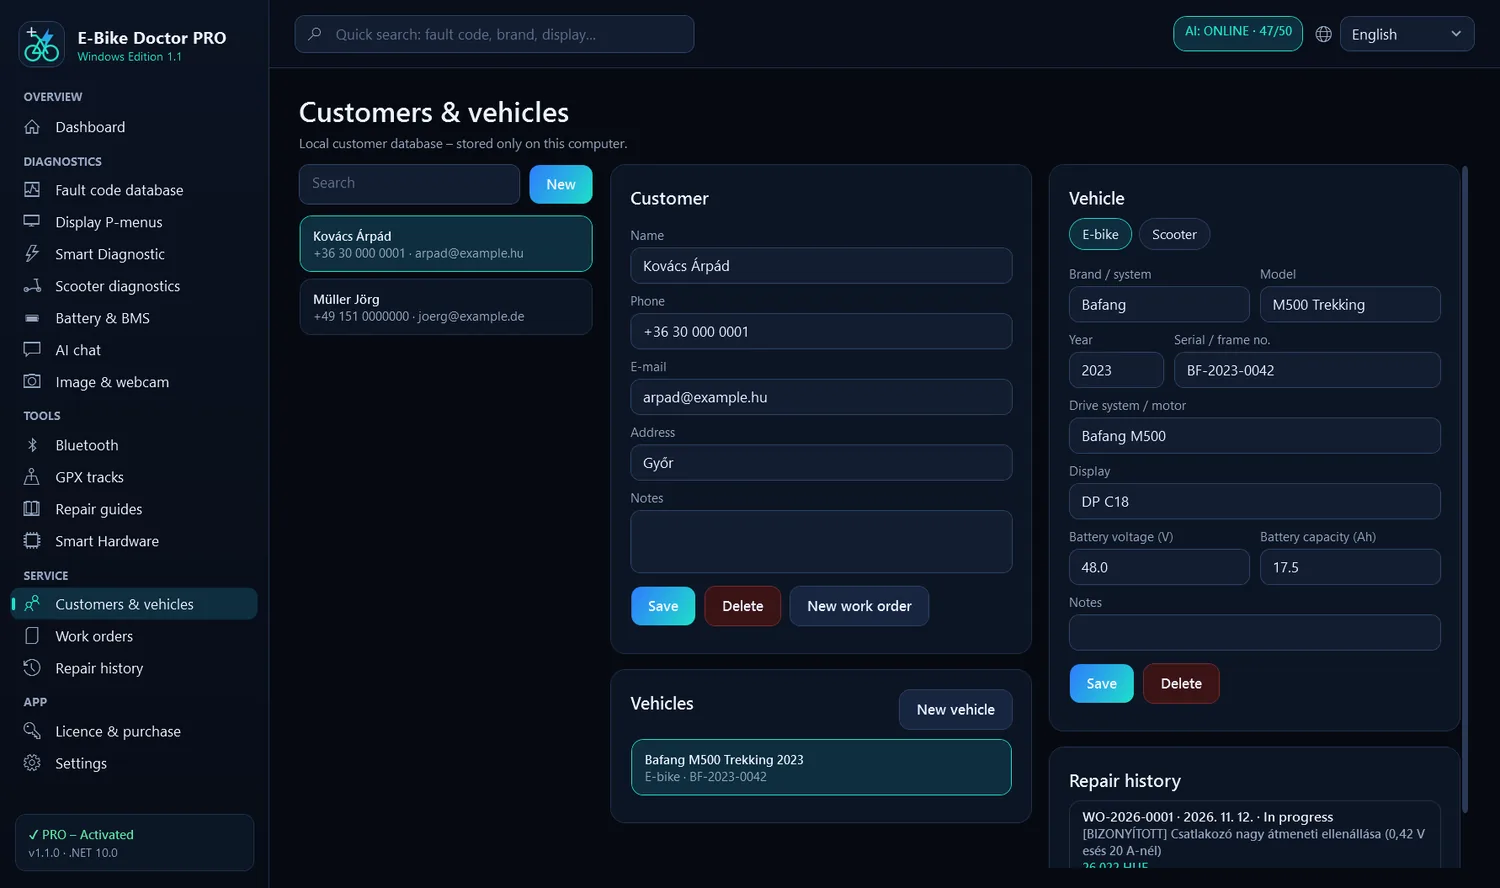
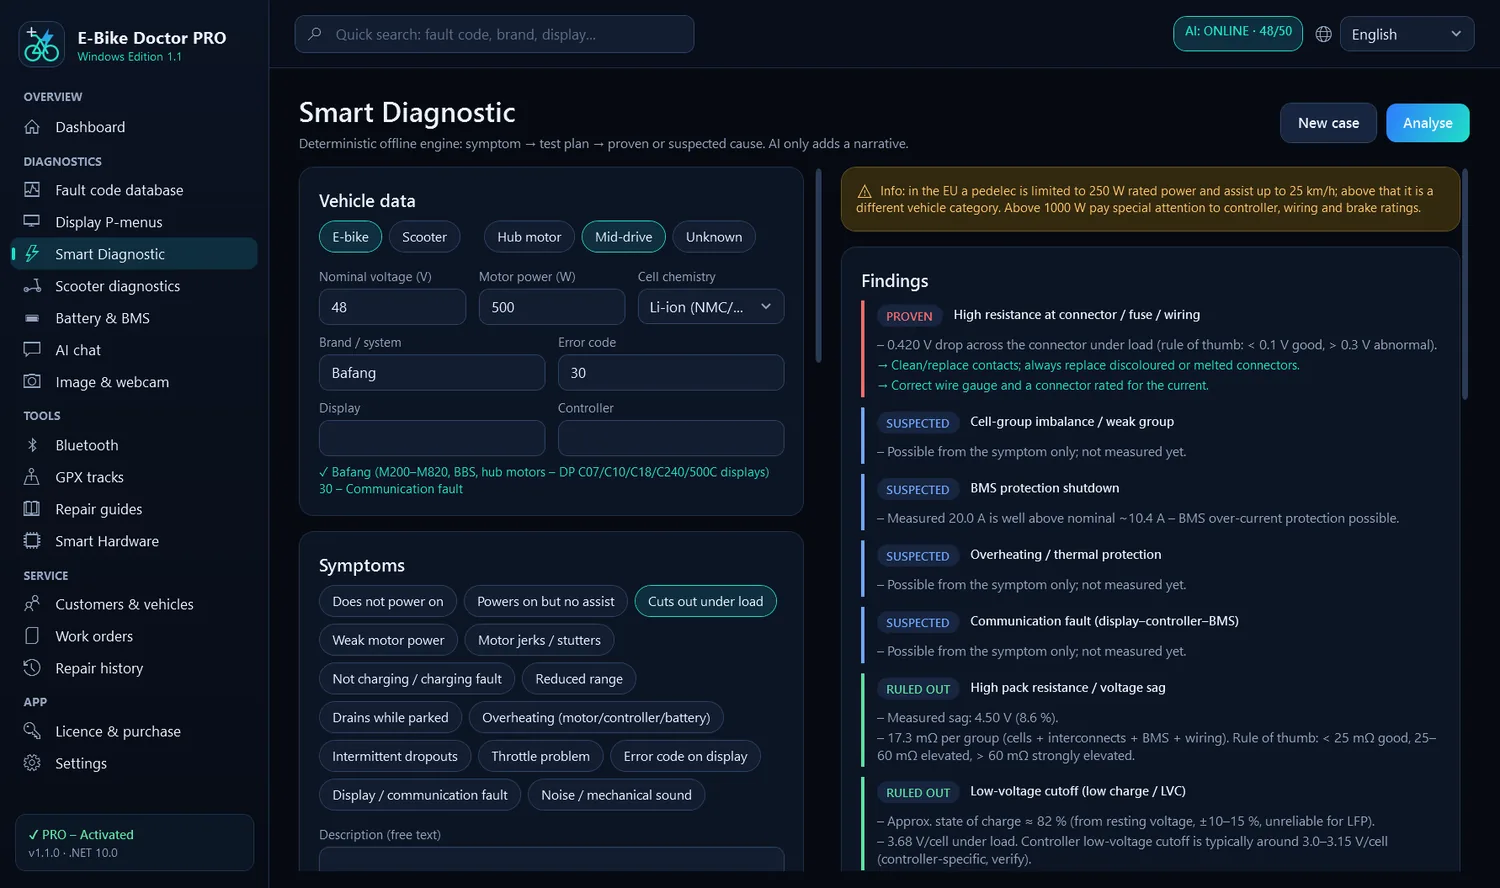
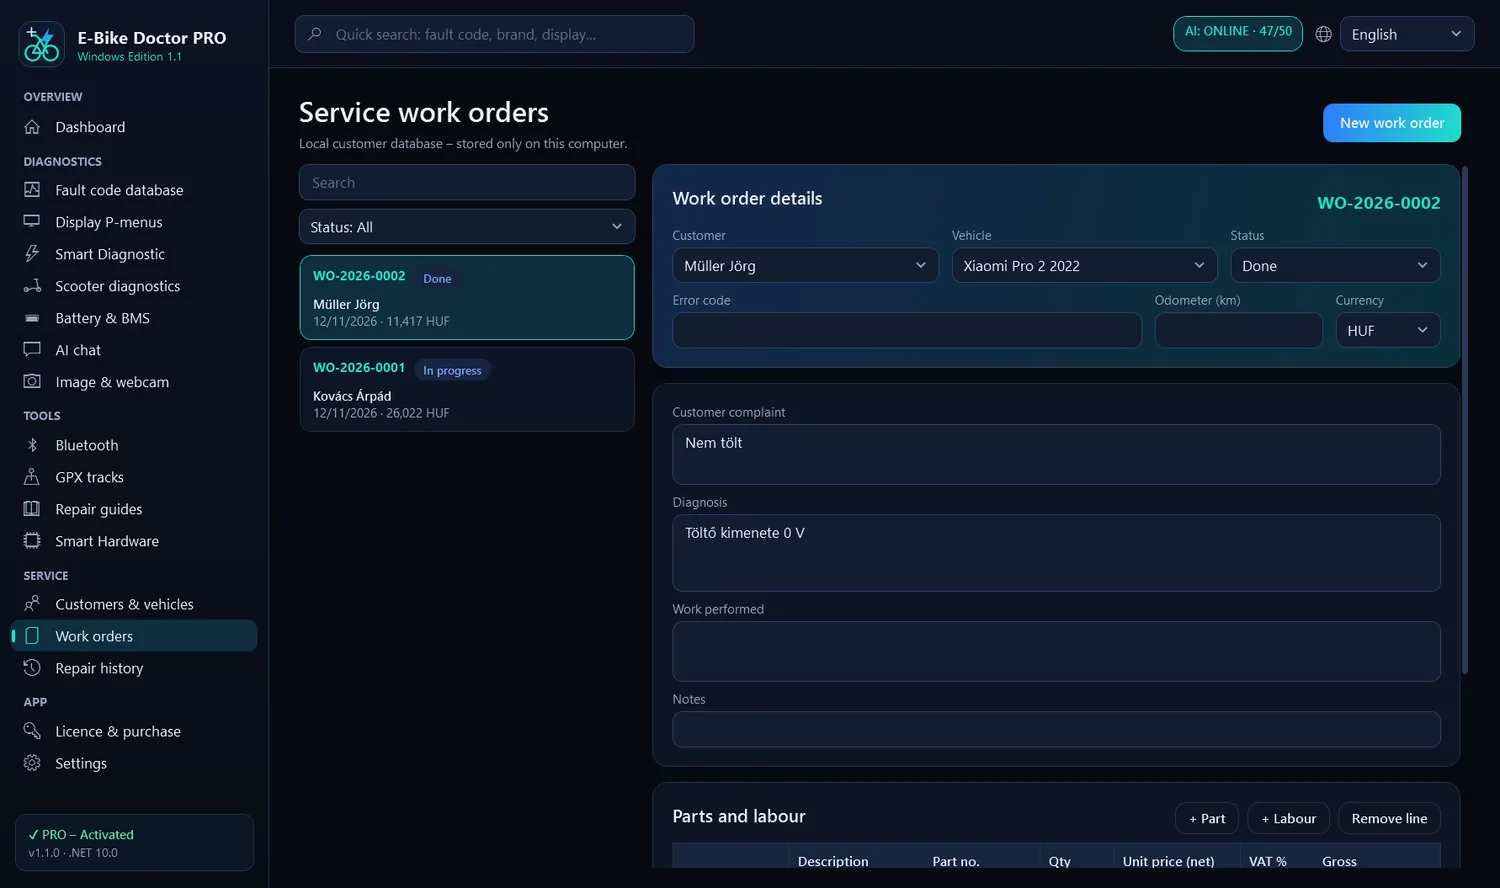
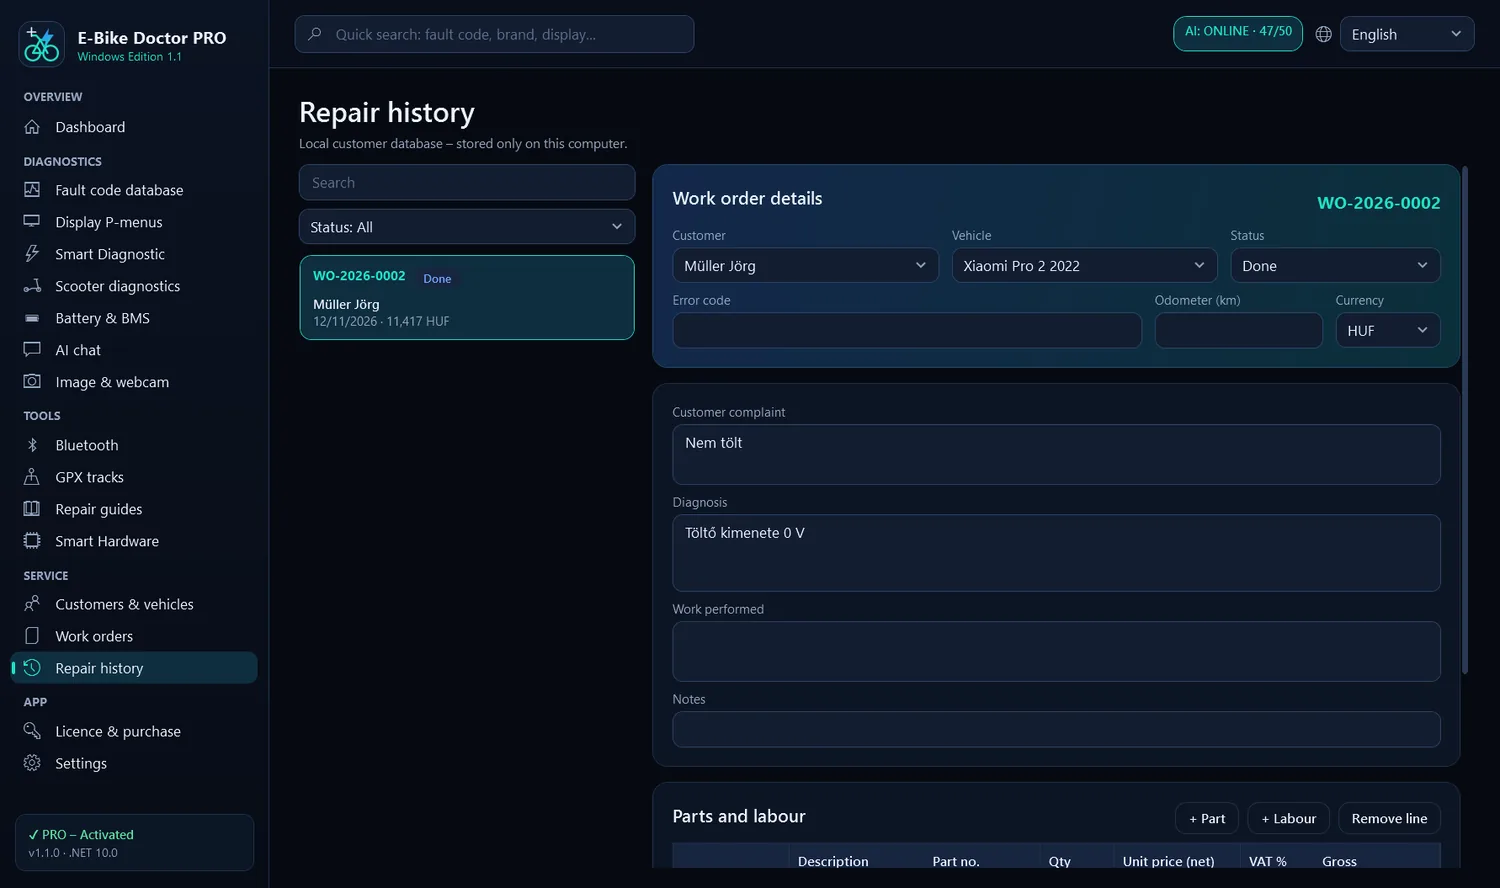
Workshop workflow – Windows
Step 1/4 Add a customer and vehicle.Step 2/4 Smart Diagnostic: proven and suspected faults from measurements.Step 3/4 Work order: parts, labour, VAT, currency.Step 4/4 Repair history per vehicle.
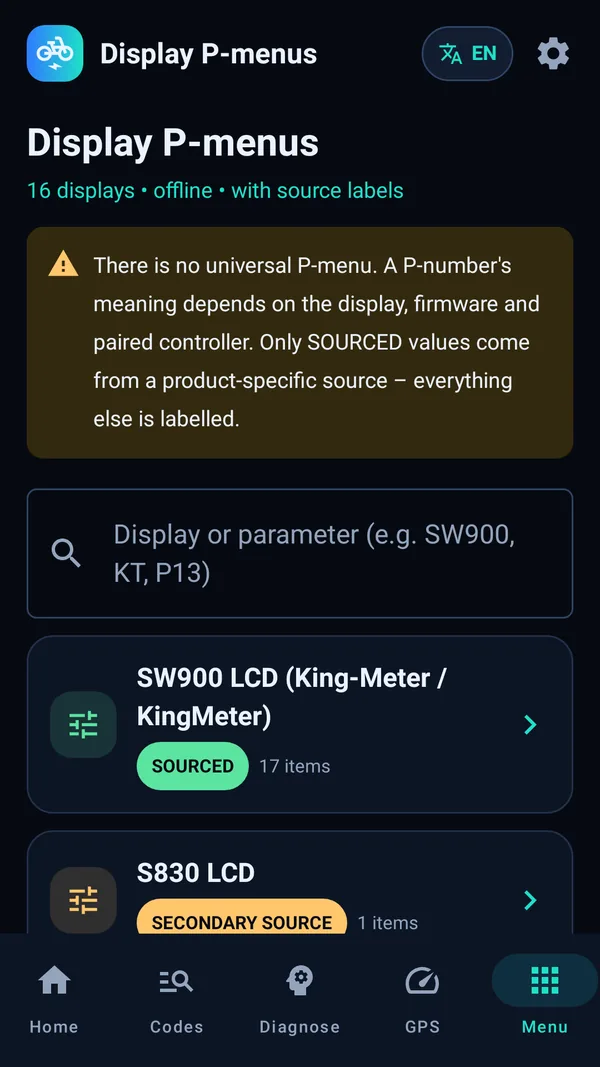
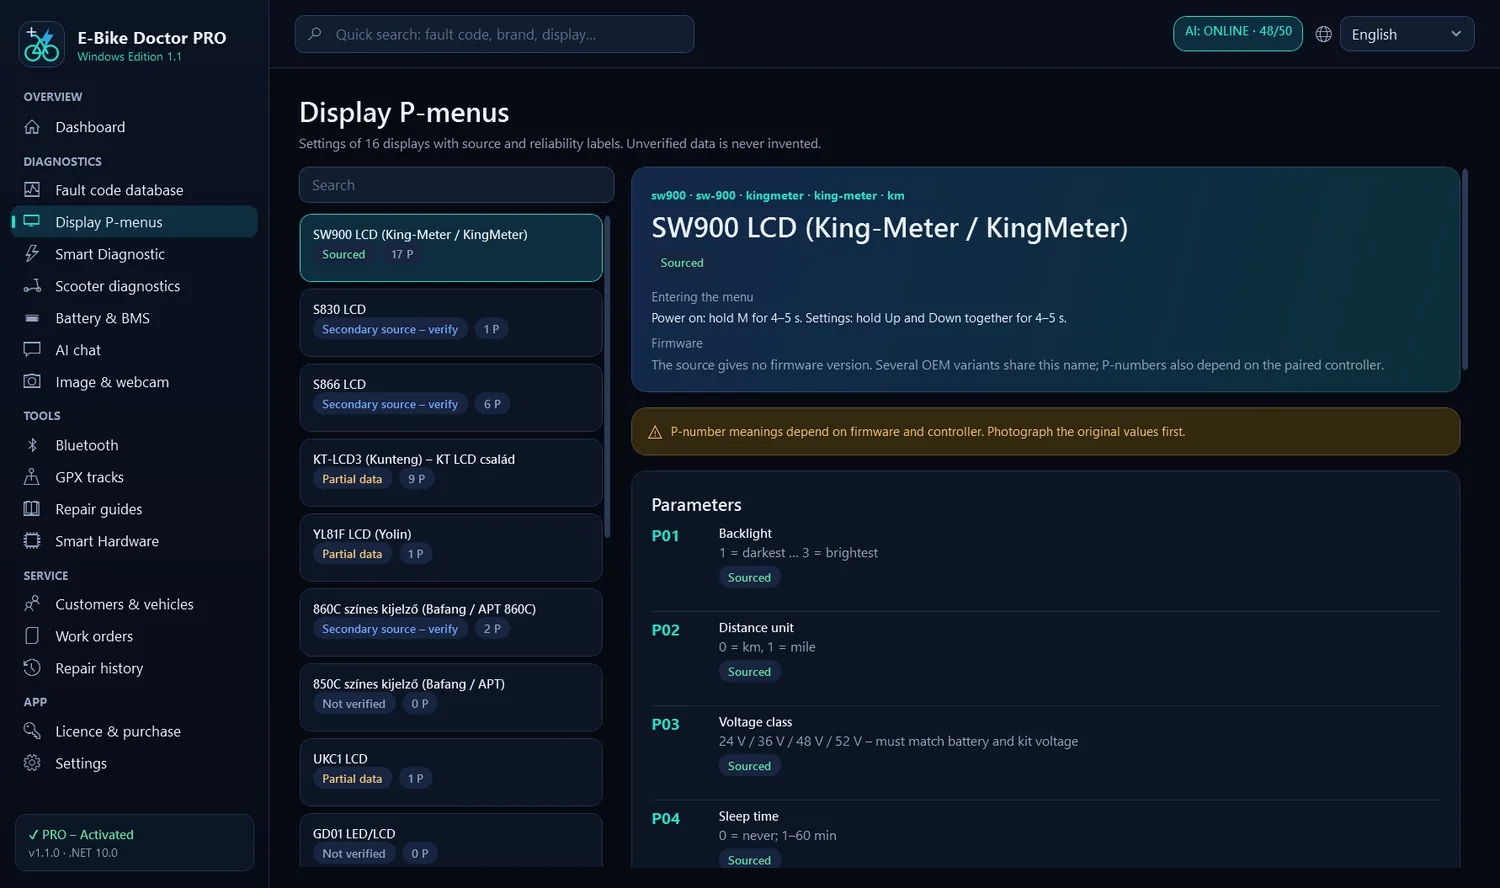
Setting up a display – P-menu
Step 1/2 Display search and source labels.Step 2/2 Parameter meanings with sources and warnings.
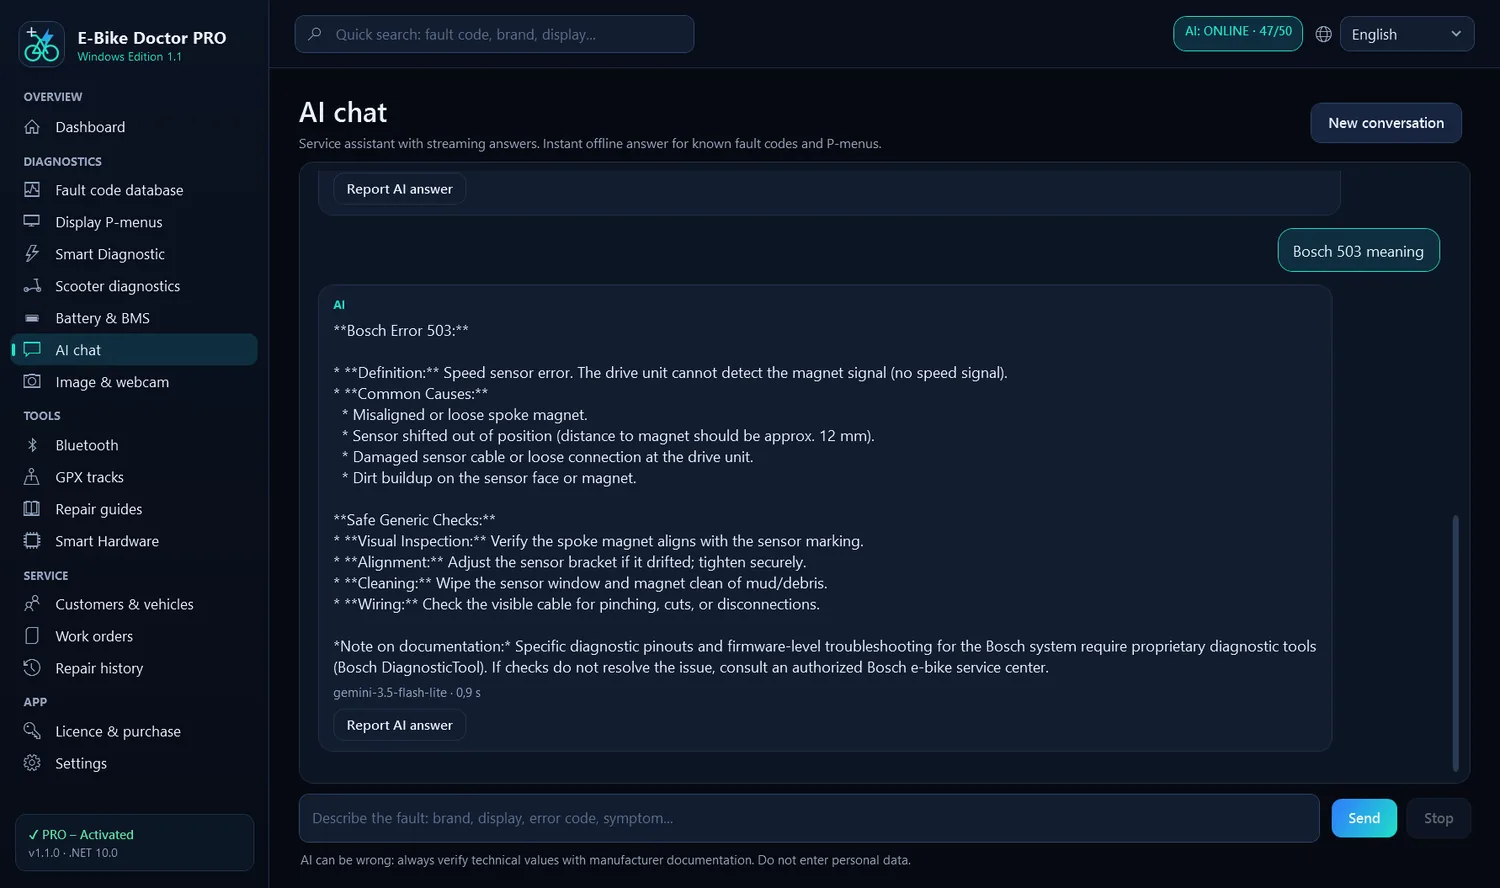
AI assistant – Windows
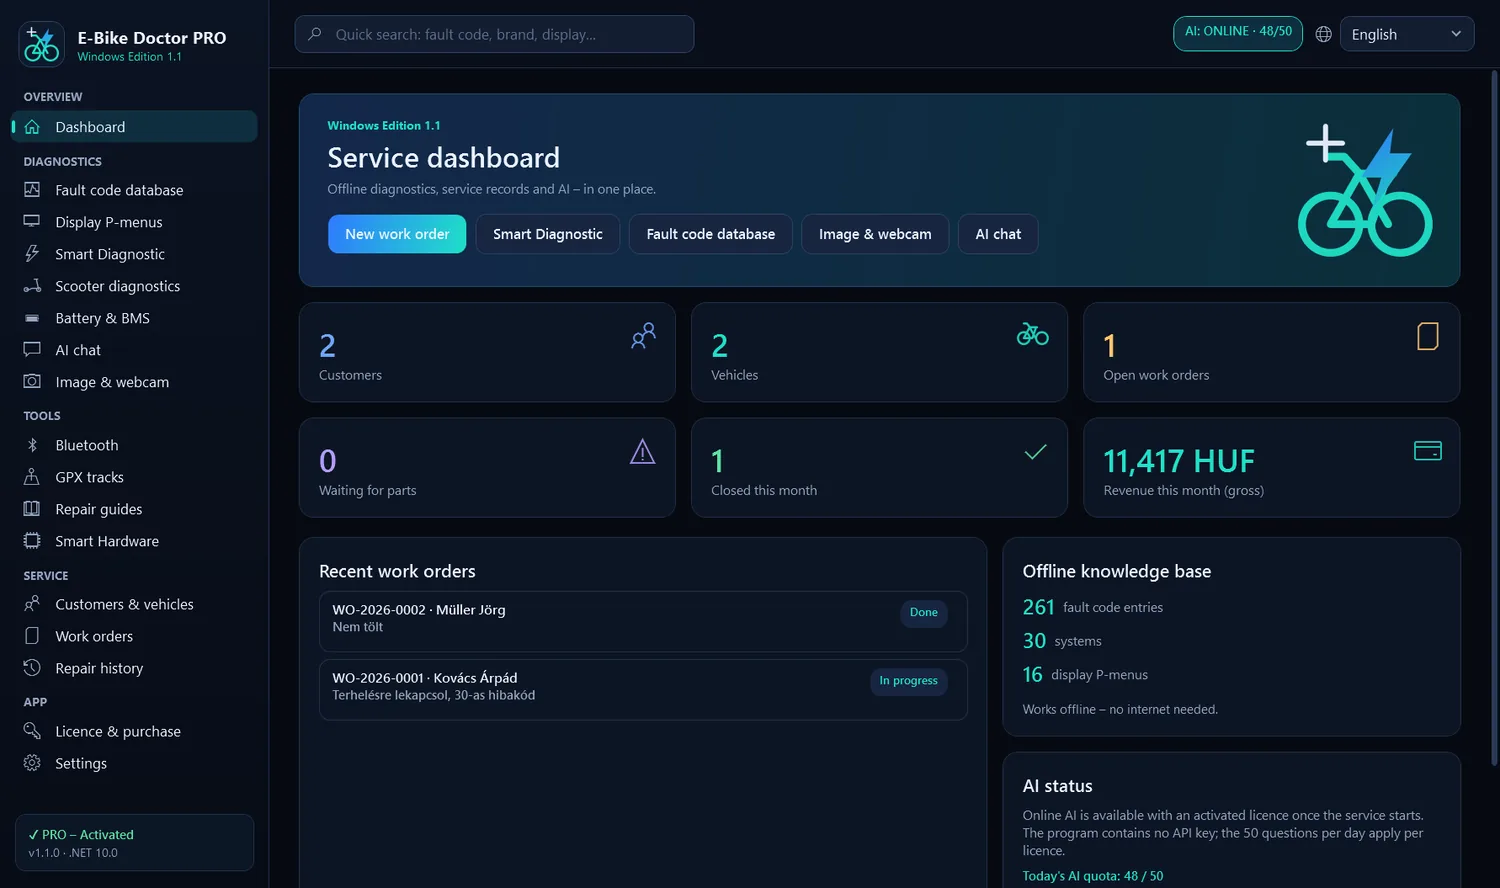
Step 1/2 Known codes get an instant offline answer from the local database; complex questions go to online AI.Step 2/2 Dashboard: daily AI allowance, open jobs, monthly revenue.